

Rancher is a complete software stack for teams adopting containers. It addresses the challenges of managing multiple Kubernetes clusters providing integrated tools for running containerized workloads. In our last post, we did a quick introduction to Rancher and the Rancher Kubernetes Engine (RKE).
In this post, we'll see how to install the RKE and get it ready for Runtime Fabric. We'll be using a VM, in my case an AWS EC2 instance with Ubuntu 22.0. We'll refer to that as the Rancher Server in this post.
Install Docker
The only requisite for RKE is to have Docker installed. Wherever you have docker you can install RKE. If you still don't have it in your machine have a look at this post:
Install Rancher
We only need to run one command and that's the docker command to run a container with the rancher image:sudo docker run -d --restart=unless-stopped -p 80:80 -p 443:443 --privileged rancher/rancher:v2.8-head
It will only take a few seconds to finish. After that you should see something like this:

Wait for a few minutes and then, from your web browser access the url http://<your VM hostname>
or using the IP address of your VM. You'll get a warning in the browser because of the certificate but ignore it. You should see the Rancher Welcome Page:
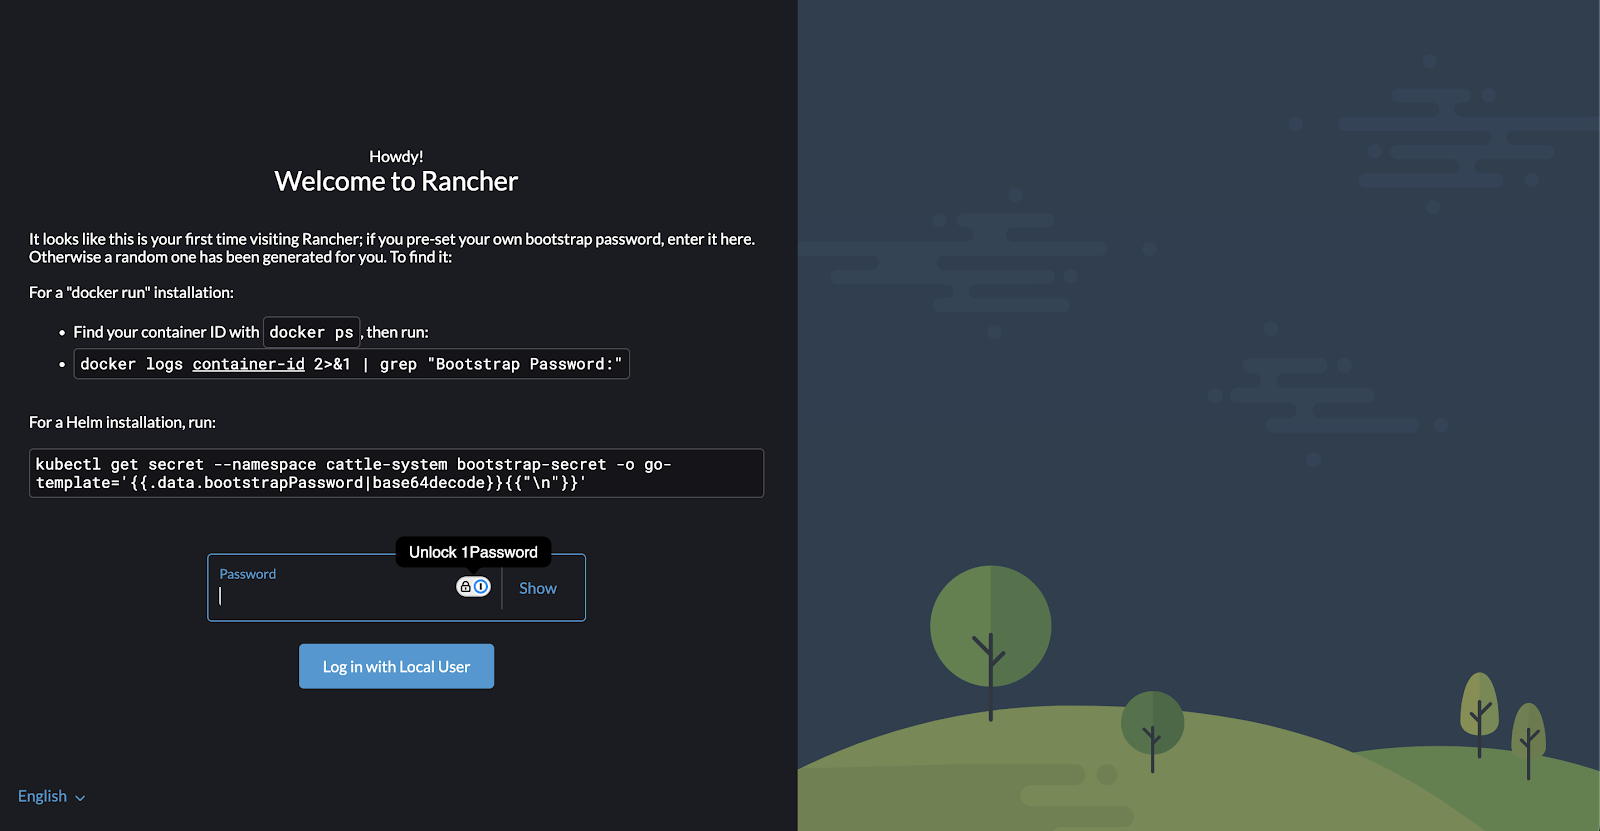
The Welcome Page will prompt us for a password. We can get that password from the container logs. To get that password, get back to the terminal and run:
sudo docker ps
Now run the command below and copy your Bootstrap Password from the output obtained
sudo docker logs <YOUR_CONTAINER_ID> 2>&1 | grep "Bootstrap Password:"
- Get back to the Rancher Welcome Page and paste your Bootstrap Password into the Password field and click Log in with Local User.
- Click (or not) the check box next to the statement allowing the collection of statistics.
- Click the check box next to the statement agreeing to the terms and conditions.
- Click Continue.
- Next provide your New Password and verify the server URL is the hostname of your Rancher Server

If everything went well you should see the home page of the Cluster Explorer:

Set up your kubectl
Now we'll try to connect to our new cluster with the kubectl from the same Rancher server.
First, check whether or not kubectl is installed in your Rancher Server:
kubectl version
If not, follow the steps of this post to install it (don't forget to make it accessible from the $PATH). If this is the first time you use kubectl it will probably not connect to the local cluster.
The installation of Rancher does not install kubectl nor creates a kubeconfig file. We'll have to create our kubeconfig file. For that, from the Rancher web console, click on your local cluster and then click on the third icon on the top right corner.

That will download the kubeconfig file that we need. Copy the content of that file. Then, get back to your terminal and run the following command to create our local kubeconfig:
mkdir ~/.kube
vi ~/.kube/config
Paste the content on this new file and save it (with :x). Retry to connect your kubectl again. Now it should work:
kubectl get nodes
Congratulations, you've got your Rancher RKE cluster up & running. In the next post, we'll install Runtime Fabric on it